It’s a sportsball sounding kind of title, but it doesn’t make it less true. Sometimes when you’re in a slump or you can’t seem to shake out of a rut the thing you need is an easy win. Take on something that’s not part of your regular list, your massive project or the thing you’re blocked on and just do something smaller and less stressful. Take the easy win.
That worked for me. I went out and watched the **ULTIMATE** newbie crash course. I don’t know that I’m a total newbie, but I’m always happy to look at videos talking about basics. The foundation or fundamental pieces that crafters start from are often very different from each other. I don’t necessarily follow all the terrain advice shown in Wyloch’s Armory, but there was a bit in that video that reached me. Quick and easy doors.
I hadn’t thought about doors in dungeon terrain specifically. I’ve got grand visions of foam mountains and elaborate set pieces with months of build time involved and it all just seemed to be a bit overwhelming. I needed to step back and take on something smaller and easier in order to get into the work. Doors. The video series creator has a really great take on using a flat washer and some smaller craft supplies to create these doors. I stopped by the hardware store on the way back to the house one day and dug in.
I did not stick to the pure basics as shown in the video, but used the simplicity of the design concept to push forward a series of doors that I could use to advance a story. I was really happy with the result and at the end of the afternoon I had nine pieces I could add to my terrain library for future use. I didn’t grab pictures of all individually, but here are a couple of my favorites:
The Collection
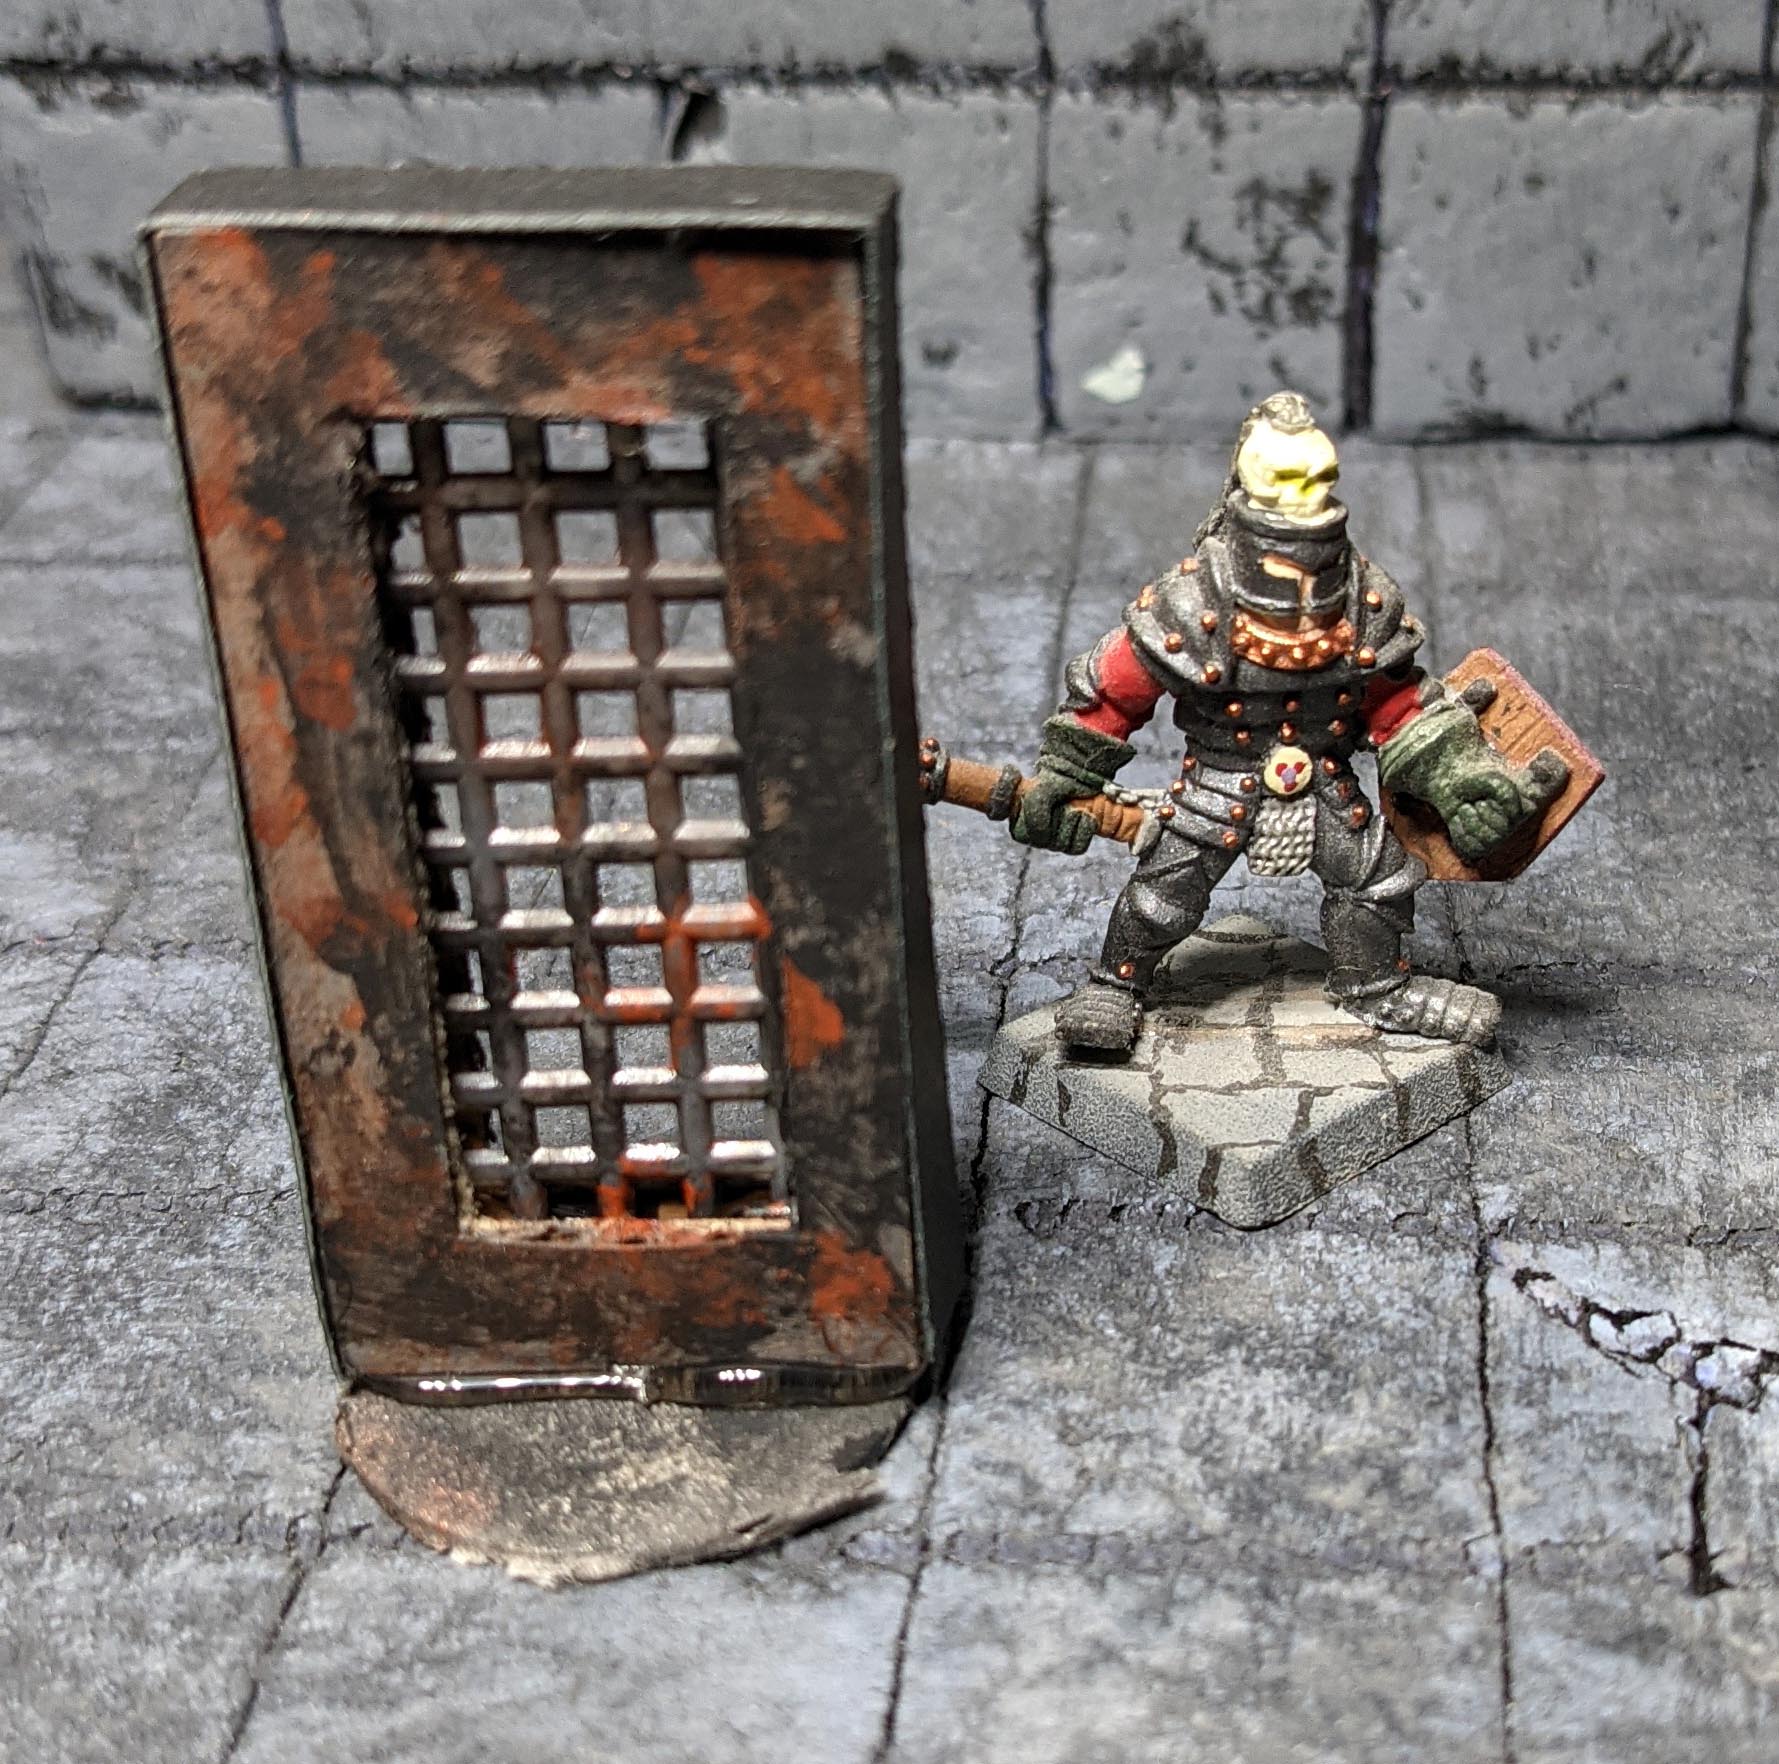
Rusty Cell
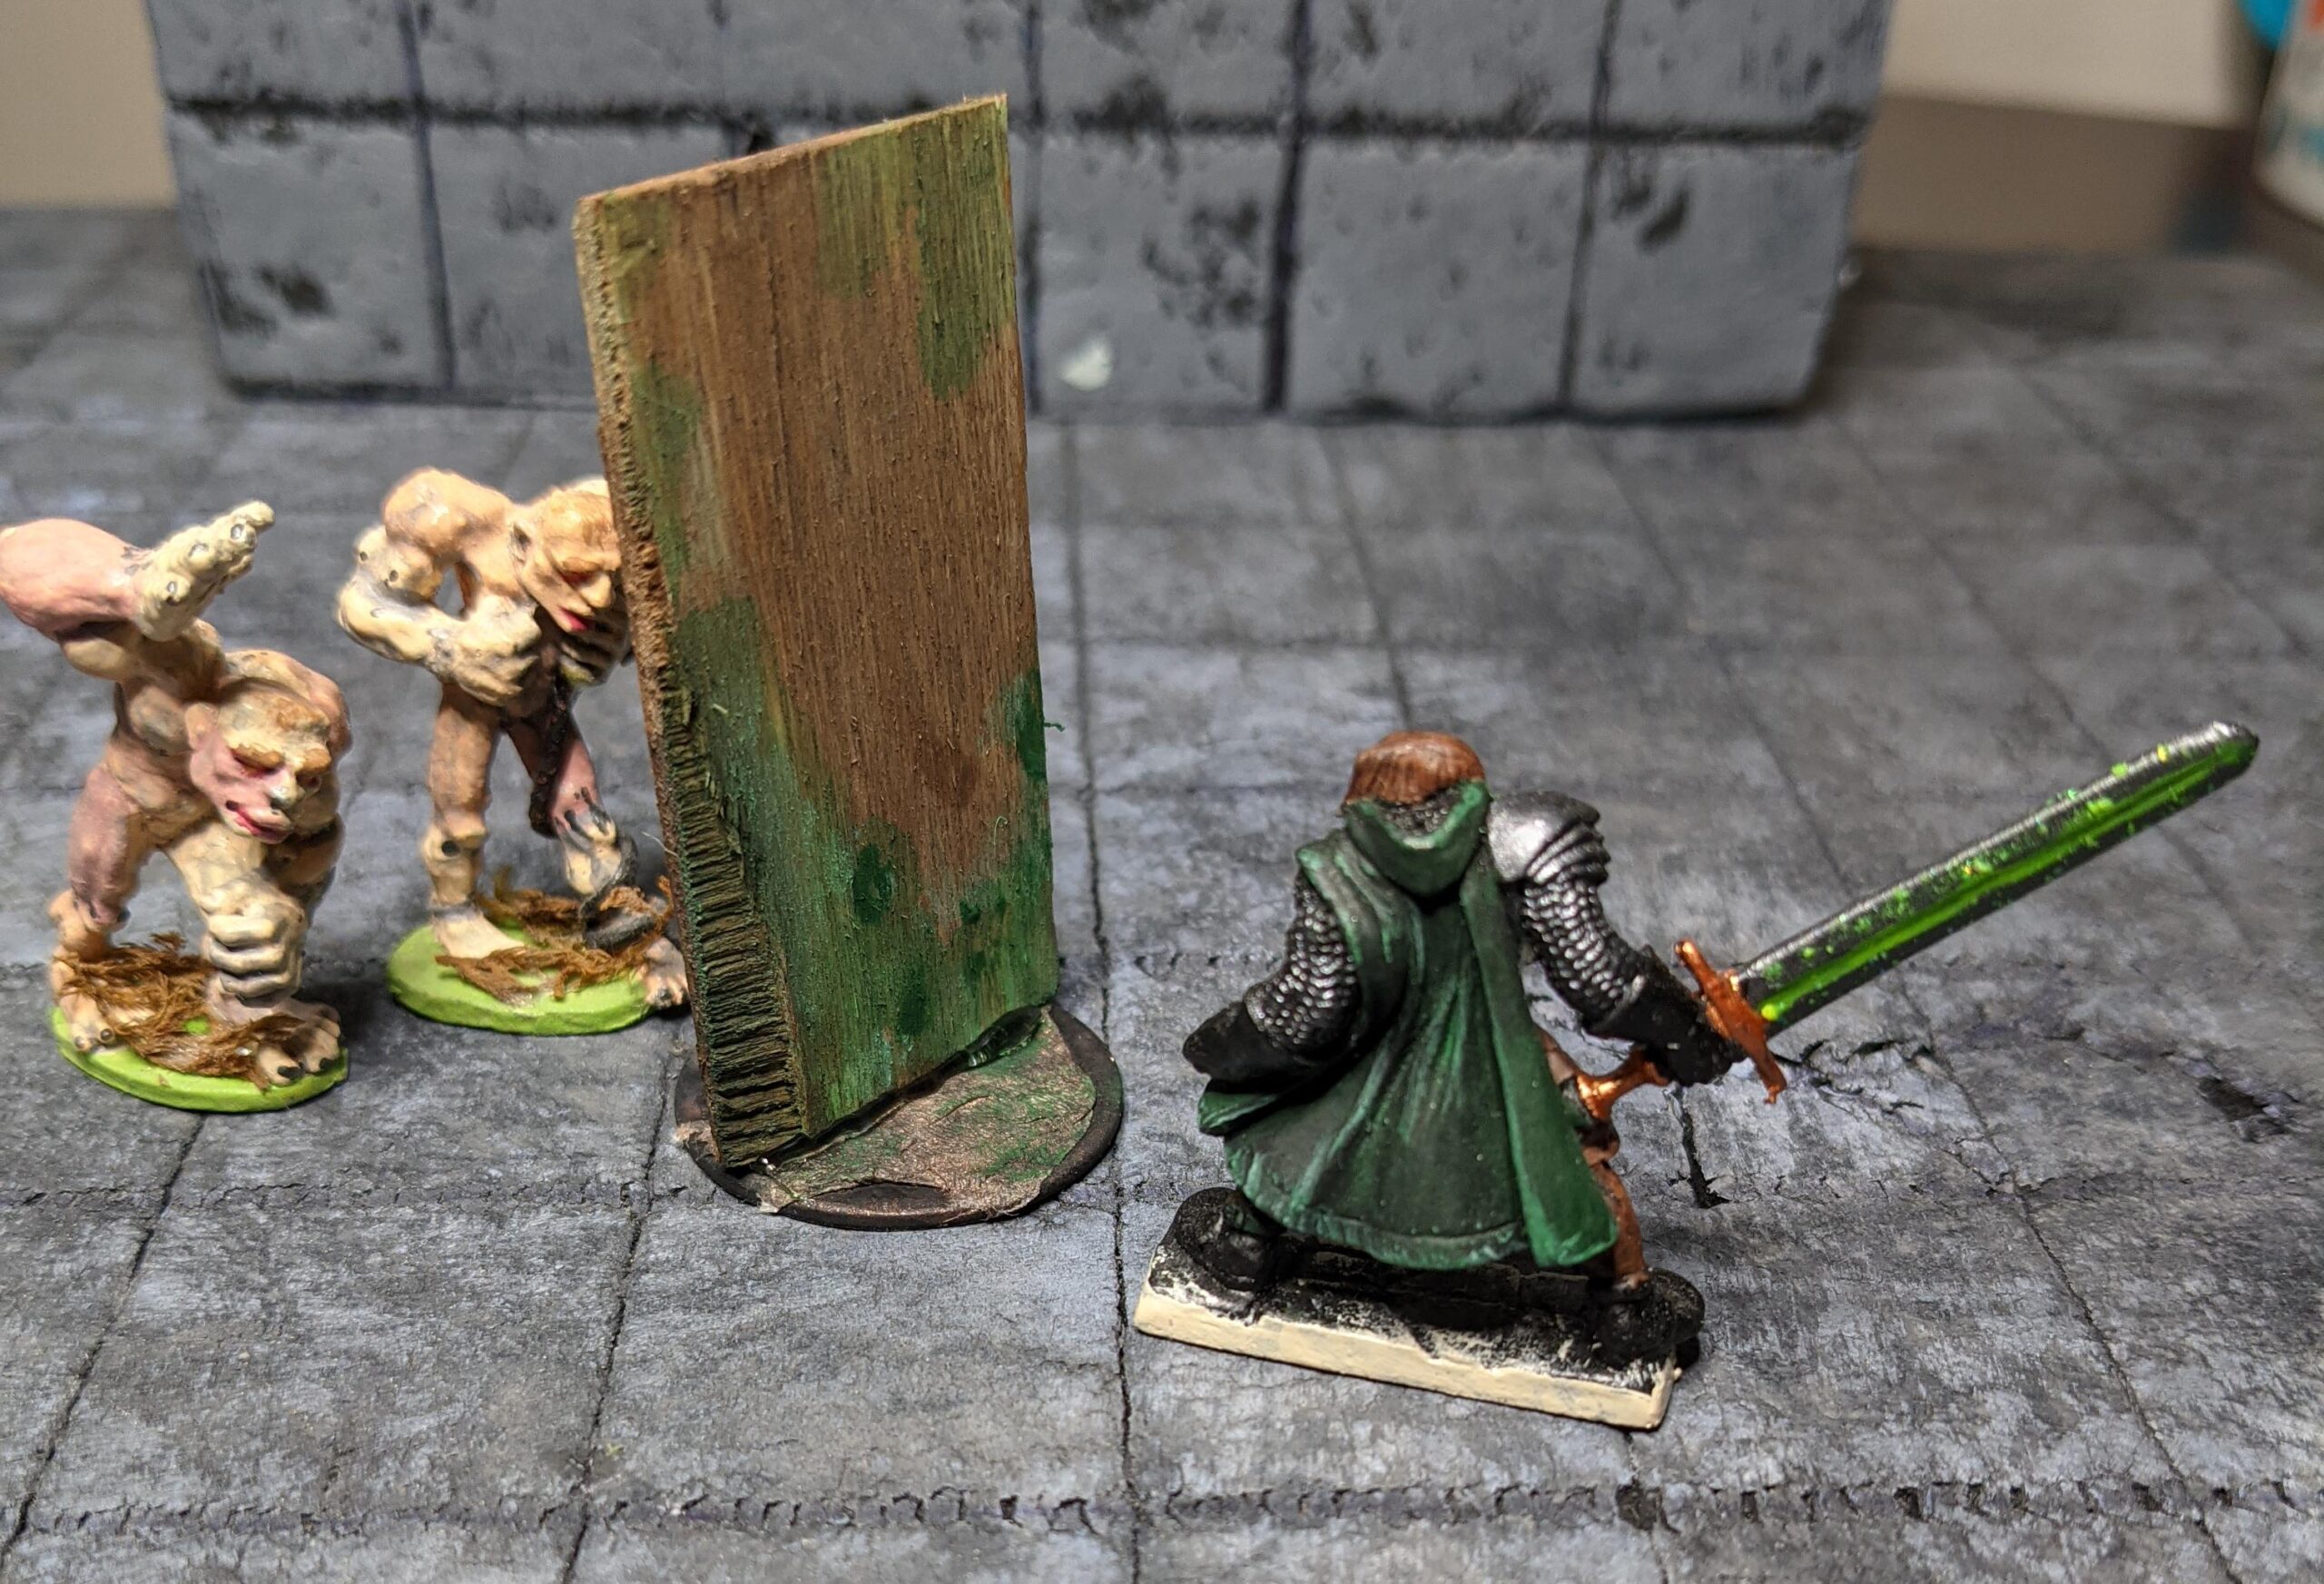
Rotten Core
If you’re stuck or have writers block or can’t figure out what to paint or build or whatever your hobby is – sometimes it can really help if you take the ‘easy win’! What sort of things fit this description for you?
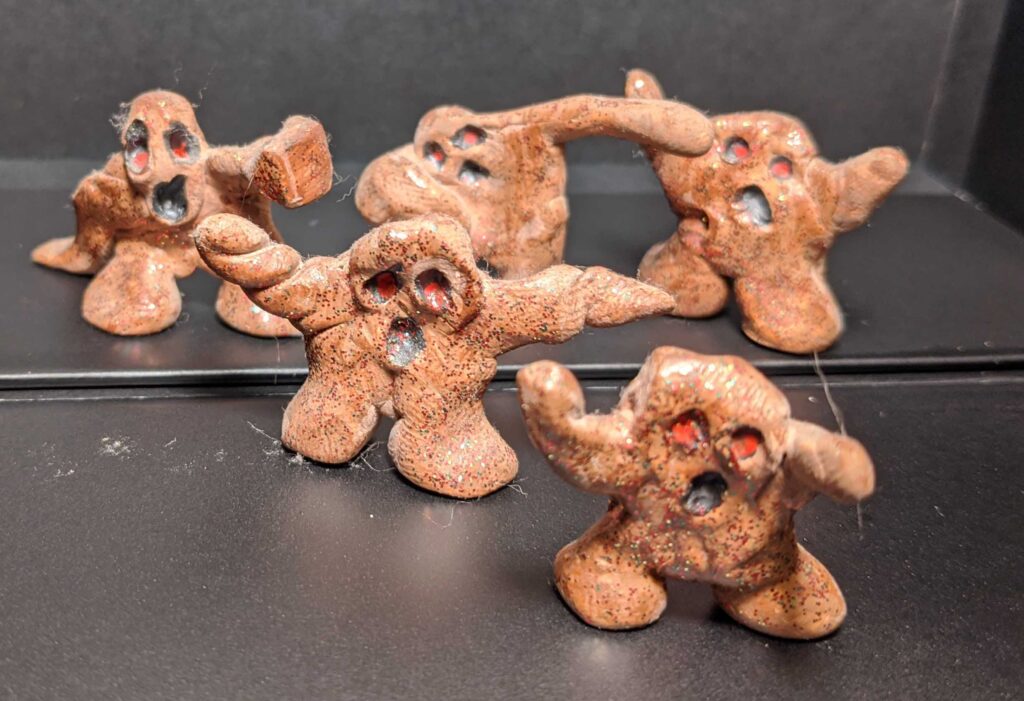
I’m still sitting clearly in the amateur section when it comes to my miniatures and crafting hobbies. It has taken me longer than it really should to make any sort of tangible progress, but I am in fact making progress. I’m also learning and enjoying finally digging into my giant pile of shame (all those unpainted minis that have been sitting around for sooooo long).
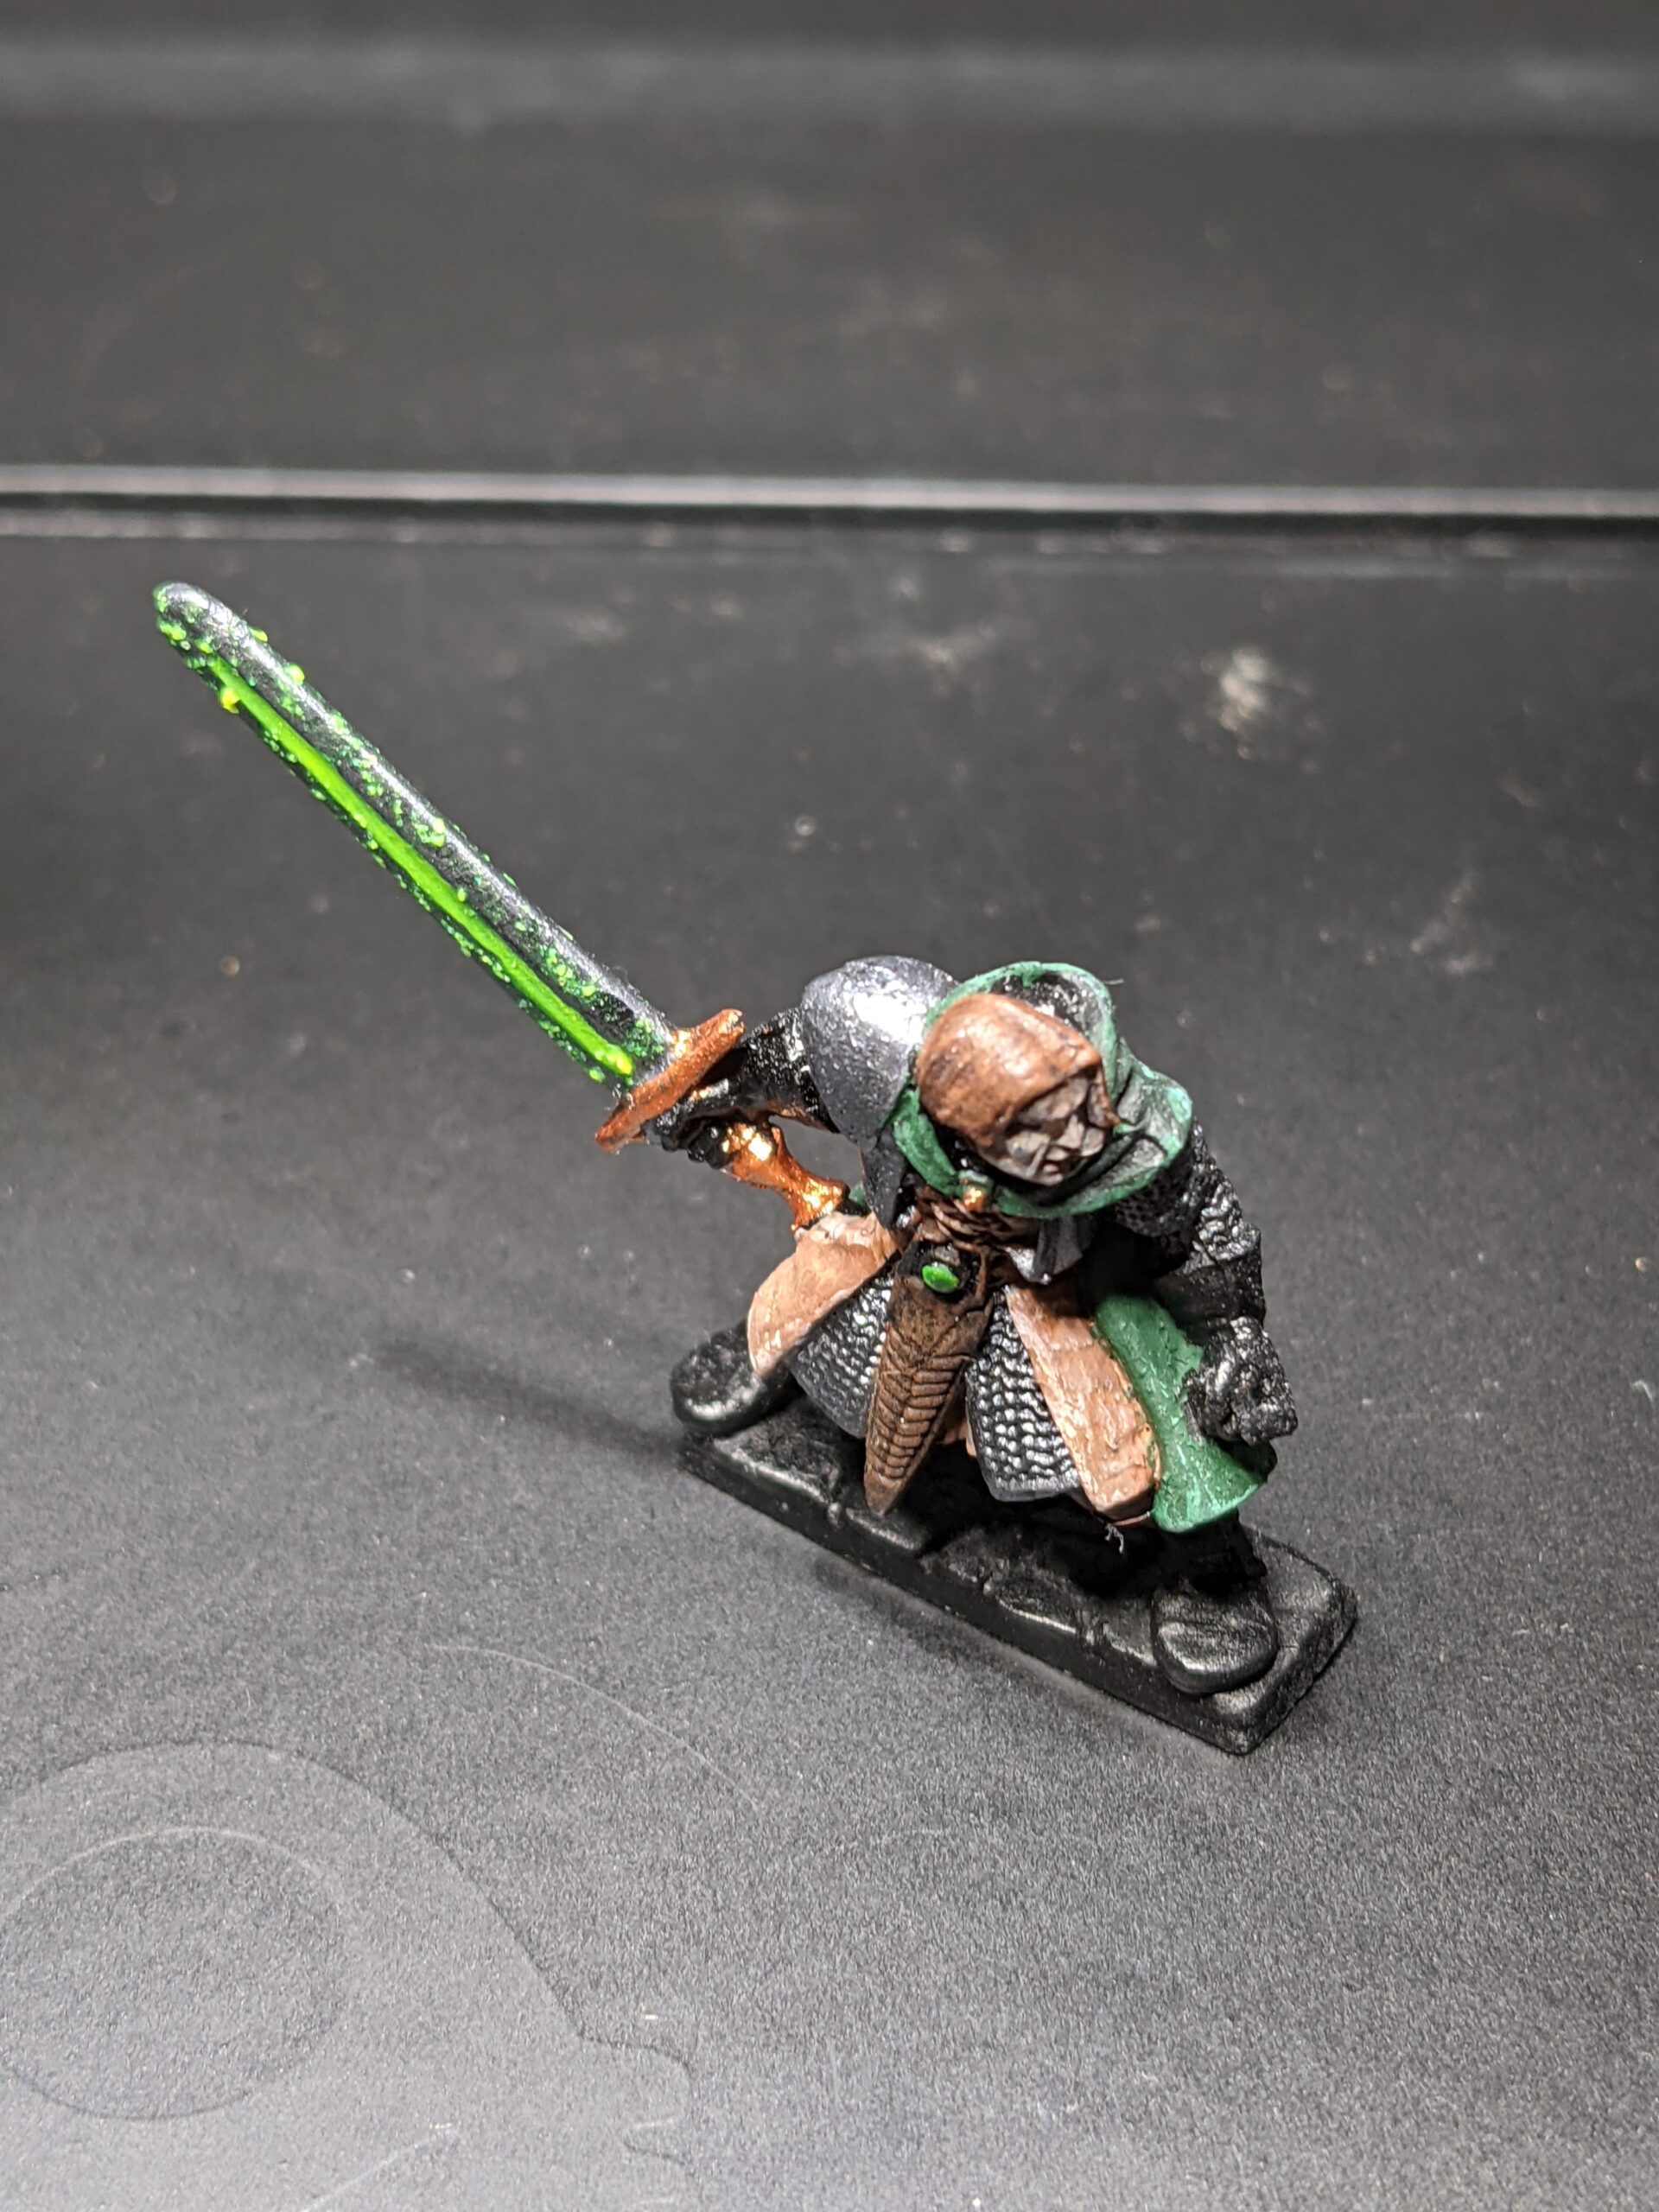
This fine fellow will likely be raging out of the earth during some Dungeons & Dragons campaign in the near future:
Yeah, yeah, yeah… patience. How long does that take?
That’s one of my favorite quotes. It comes from a comedy sketch by a group called the Frantics (Boot to the Head). It has become something of a constant call back in this house. Having and expectation of being immediately good at something and the reality of how good you actually are at something are two circles of a Venn diagram that don’t always cross.
I’ve had some longer posts recently about things that are depressing, particularly those related to fandom. I was not actively seeking out “feel good” posts, but found one anyway. I watch a number of different YouTube channels that involve painting, miniatures, crafting and table top gaming. I have some favorites and some that I only glance at from time to time. All of the ones I watch have a level of professionalism that I admire, right along with the actual skill connected to what they’re showing.
Here’s the feel good part: this artist saw a fellow gamer that was being forced to sell the miniature collection related to his hobby. His heart went out to his fellow gamer. He decided to recreate this army of minis, paint them and give them away. It was a cool video if you want to watch the whole thing, but that’s the short version of it.
Check it out here:
That’s a LOT of miniatures!
Back to the patience thing (see how waiting can pay off?). I took note of what the creator said in this video. He’s a pro, meaning this is how he pays the bills. I did a rough estimate based on a typical work week here in the US. I figure 8 hours per day would be considered a “work day”. The paint job being done in the video above took about 16 days. After the 5th day, an assistant joined in. I have no idea how long the helper worked, but let’s say it was 4 hours each day for 10 days (because I like easy math). Adding it up: 16 (8) hour days = 128 hours + 40 hours of helper time. That’s (checks calculator) 168 hours of prep and painting time.
How does this related to patience I hear you asking. Well, sometimes I get frustrated that my miniatures don’t look quite as good as some of the pieces I see online, as painted by the pros. Shocking nobody but myself – mine don’t look as good. I don’t have the hours in the chair that they do. Sure, maybe over the years I might come close to a reasonable total, but painting and crafting is an active skill. It’s something to be maintained and worked at. If I get, let’s be generous and say 4 hours each week where I can sit and really dig into my hobby, it would take me (goes back to the calculator) about 42 weeks to accomplish what they did for the video. So a couple months short of an entire year. Even a year from now I’m betting I won’t have that many minis painted.
Decidedly NOT like the pros.
I need to learn patience and practice. IF you’re creating something, don’t get down on yourself. Keep doing what you love. It will come around. Even if you never “go pro”, you’re still doing and creating something you love. If you get really lucky, you’ll find a way to share that with the people you care about.
I took on another beginner project today. The tabletop crafting has hold of me and the only method to get away is to actually take on a project and make something. It felt really good to actually start and finish a project. Yes, it was small, but that’s OK. Starting small and learning as you go is how things are supposed to work. Today, I made a version of the Dungeons and Dragons monster the Gelatinous Cube. The monster is essentially a ten foot cube of monster goo that sweeps dungeon corridors and occasionally eats player characters.
It’s a beginner project because it doesn’t require a lot of parts or skill. More skill than I have in order to avoid hurting yourself apparently, but more on that in a minute.
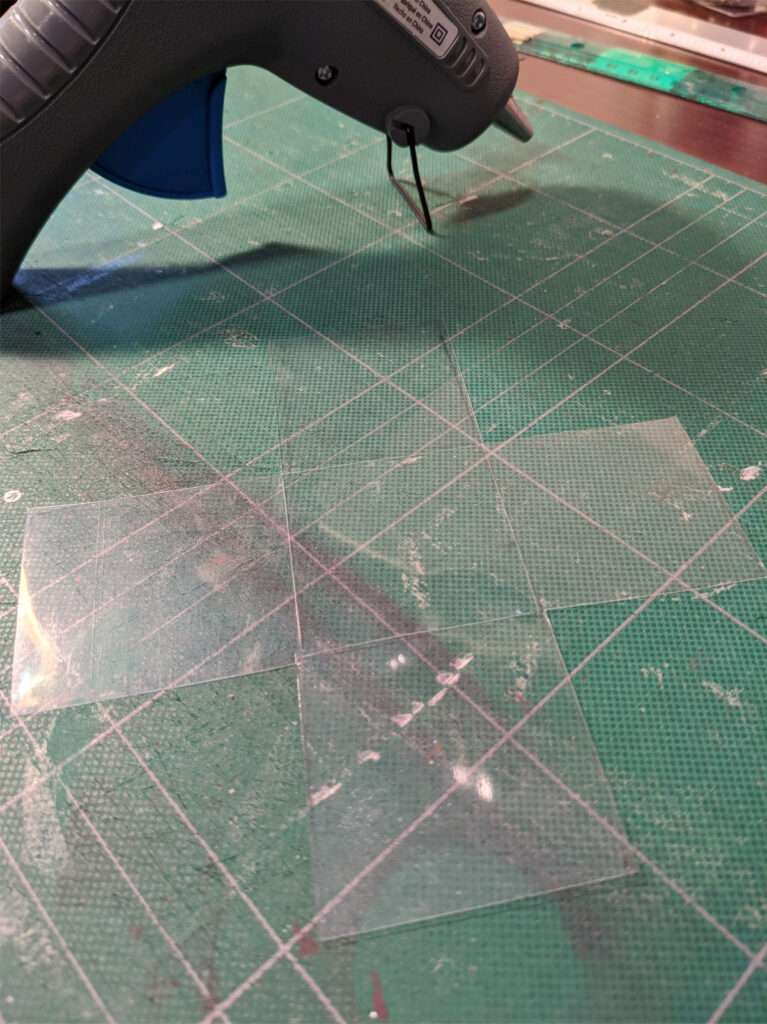
I grabbed an old sheet protector from a three ring binder that had been laying around here collecting dust for far too long. I trimmed out a 6” x 6” section of the plastic. I still have the other side of the sheet protector set aside so if I choose to make this project again I can use that… although I might look for a better solution. Many tutorials say to use “plastic” but they’re not super specific about what that plastic actually is. I think if I try this method again I might want to use plastic that is a little bit heavier. I considered trying to glue together some acrylic picture frame parts to make a cube, but at 1/8” thick it was way too much. It just wouldn’t give the same feel.
Plus
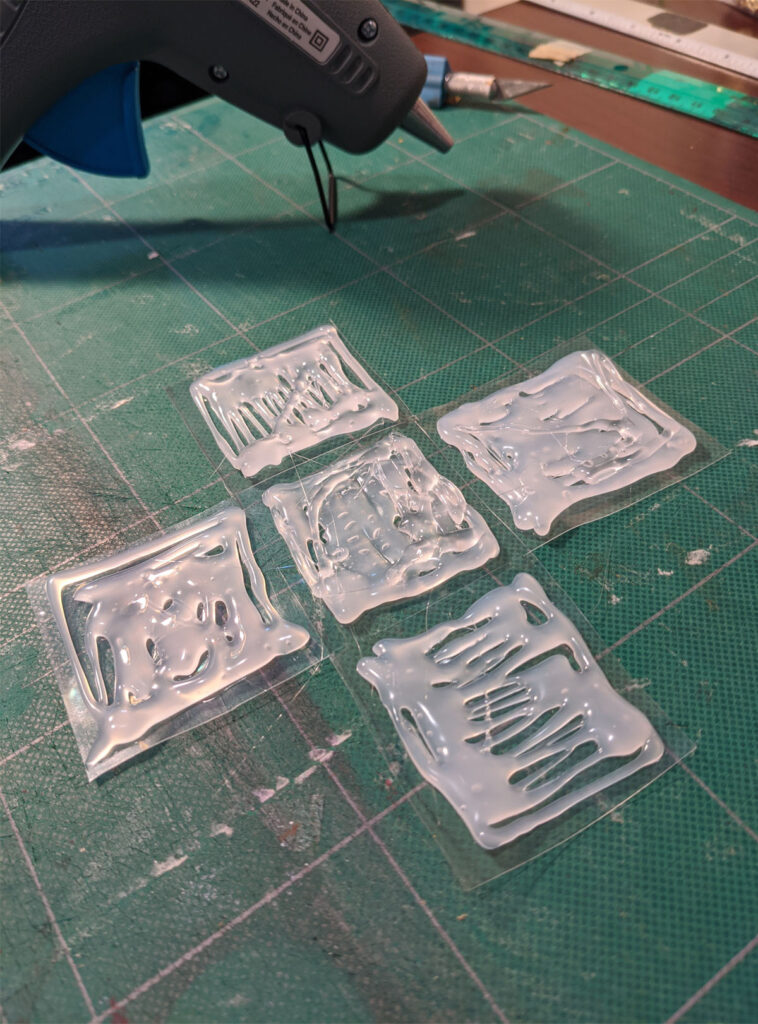
I tried to mark out the shape I needed to cut on the plastic with a marker. It didn’t work well at all. I couldn’t get the ink to stay on the plastic. The idea is to have 2” x 2” sides and a 2” square top. Cutting 2” squares out of the corners of the 6” square should give a “plus” shaped form. Then, where the edges of the 2” top would be, score the plastic but don’t cut through it to help with getting an accurate bend. I couldn’t get the ink marks to stay. It was frustrating. In the end I mostly eyeballed the whole thing. I grabbed my metal straight edge and my xacto knife and got to cutting.
Once the “plus” shape was cut out of the 6” square I laid it flat on my work surface… and that was my next error. I should have put parchment paper under the plastic first. Parchment paper would have kept my project cleaner, would not have picked up the tiny pattern that is actually in the cutting board and would have helped me get the glue to peel away much easier than I did.
Plus with glue
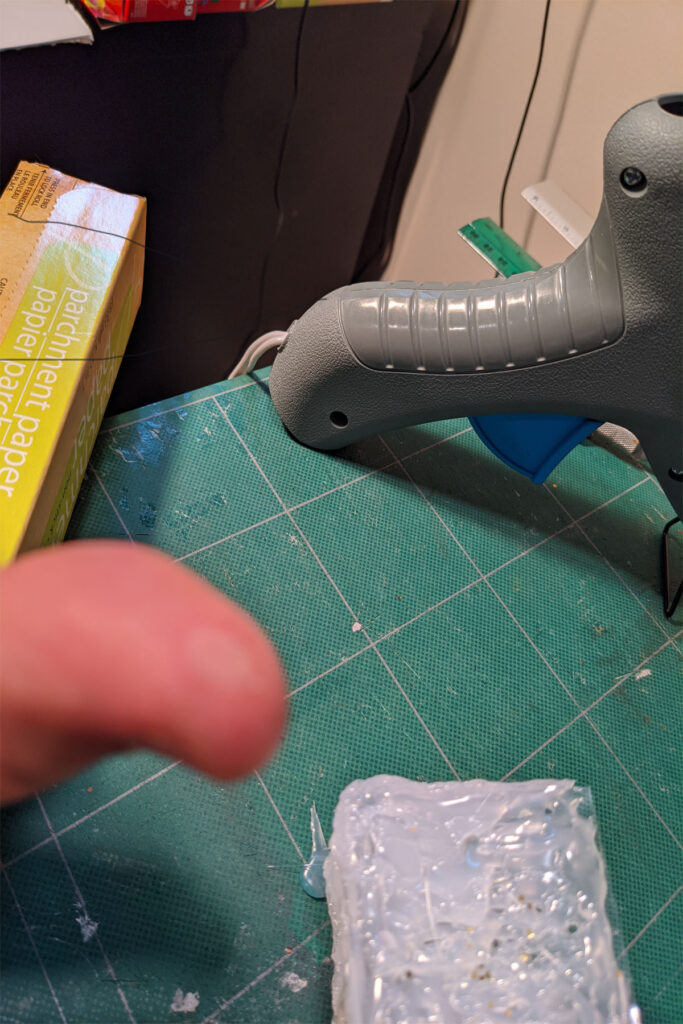
So, adding glue. The errors just kept adding up here. I used the high temp glue gun and I don’t think I needed to. It warped the plastic a little when I was first laying out glue. That’s OK because this monster isn’t supposed to be gelatinous and not a Quadrone (that’s right – a reference to the Modrons from Monster Manual 2 – I’m old). Still, the glue came out hot and fast and I am not practiced at hot glue sculpting yet. There’s an art to using the hot tip of the glue gun to make the glue look the way you want it to. Also, the key word in “hot glue gun” seems to be *hot*. I blistered my thumb when the glue slid off the cube and onto me. I was unhappy. There may have been swearing.
Ow. Blister.
Then came the part that I somehow failed to grasp when thinking about the project. Patience. This would have been a significantly better project if I’d had some patience and didn’t try to rush things. One of my favorite comedy routines has a character named Ed Grubberman. I quote Ed all the time, “Yeah, yeah, yeah, patience… how long does that take?” That’s right before a painful lesson too. Perhaps I should have paid more attention.
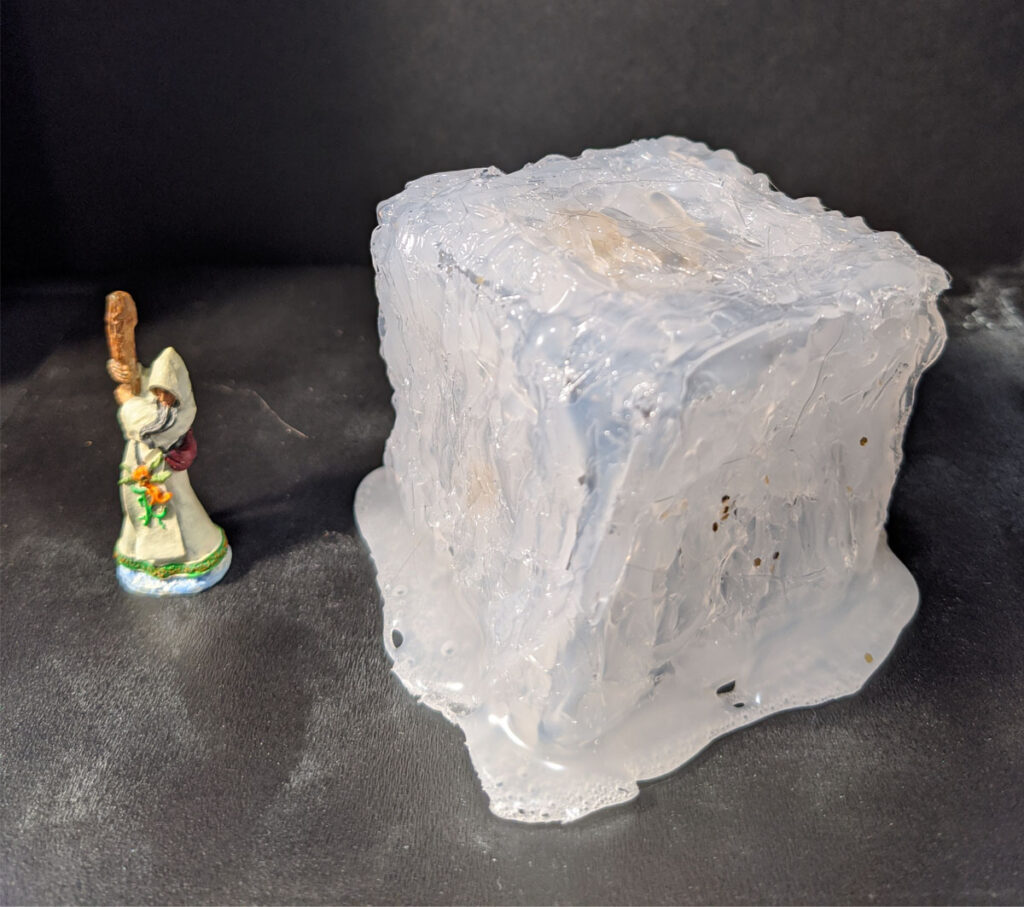
I tried to put my own little spin on this project by adding some “floating gold” on the inside. That’s something that is shown in one of the old pictures of this monster. In terms of sweeping up in the dungeon there are frequently bits of things that haven’t been completely dissolved yet. I used some large cut glitter on the inside. It was not quite the effect I wanted. The glue did not dry clear, so it’s hard to see. I may try another after my thumb heals a little ~ but I’ve seen another version of this that uses resin. I am definitely not up to resin yet.
I took this picture with one of my miniatures to give this some scale and context.
Cube size
I will certainly use this when the chance arrives and I can torment some of my players. In the end, I’m actually pretty happy with the end result. I’ll take those lessons learned and take on my next project. Hopefully with less injuries in the process.
In my author bio one of the things I list is that I am an old school gamer. Along with being an artist (loose, but relatively true). Those two things actually collide in the crafting and miniature painting realm. Because I’m not busy enough.
In all seriousness, Dungeons and Dragons has been a love of mine for a very long time. I play when I can. I world build, I run games, create adventures and… once upon a time I painted miniatures and built terrain to play on. It’s a fantastic creative outlet and doubles up as something to add to my game sessions. It’s also fantastic practice for other kinds of art. the miniatures have always inspired flights of imagination for me.
I’ve started getting back into this. When I was painting miniatures before it was a deeply solitary thing. I found a few others locally that were painting as well, but we never connected really. I didn’t reach an extreme level with my painting, but some of them were pretty nice. I even started trying to build my own layouts and sculpt some things on my own.
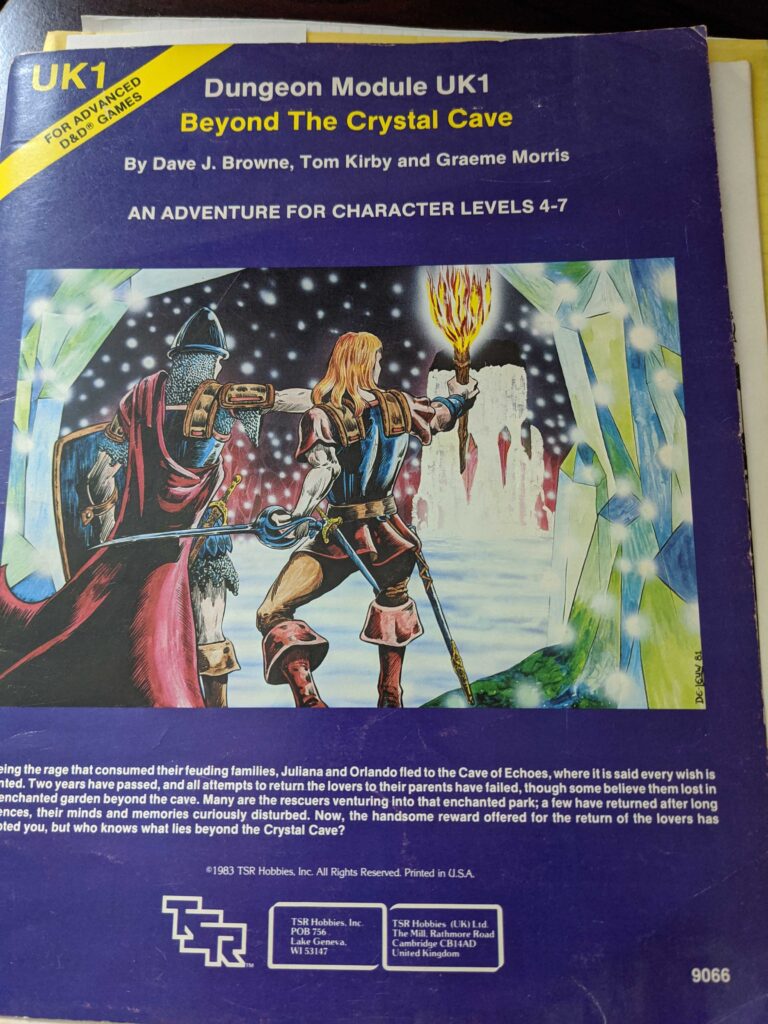
The module with the monster description in it!Modeling clay and glitter (because glitter = magic, right?)
I hope to add these projects to the blog here as part of my art. Plans, progress and all the stuff that I do when I’m not actively working on a writing project. I gave a moment of consideration to making this some kind of video compilation, but I am not a video editor. I am at heart an analog kind of guy. I believe that writing and pictures will do what I want to convey the process of the art I create. So – I’ll share progress here as the work takes shape.
I have a list of projects (shocking, I know) and (even more shocking) I have a plan for a major project. I have a diorama that I want to create as a gift to a dear friend. It’s going to be a massive learning curve for me. Hopefully you’ll enjoy the ride.
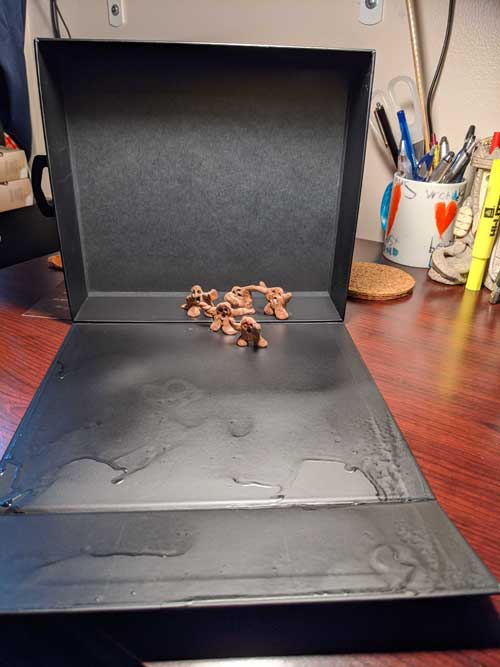
I jumped back into things today. Not some massive art project or novel length writing, just something simple. I had this box laying around from when I got a new set of headphones. I didn’t want to just throw it away. It’s a hard board and has magnets as the closure. It’s quite nice for simple packaging. I decided that I would spray paint over the product information and use this excellent sturdy box as a backdrop for taking individual pictures of my miniatures work. It works ~ that’s what the mud men are standing on / in. Easy peasy for a first project, right?
First lesson – wear your painting gear even if “it’s just a quick little thing” and avoid ruining a shirt.
Second lesson – look at the weather report. Your paint will run if you have to move it / hang it up before it’s dry because it starts to rain (spray painting is not an indoor sport).
It really is a cool box. I’m totally NOT a hoarder… totally.
In the end, I mostly succeeded. I have a painted box to use as a back drop and a single, starting project under my belt.