Army of Darkness still makes me laugh. Faking the words of the ceremony was hilarious. “OK then. That’s it… I said the words, I did!”.
There’s a very small YouTube channel out there called ‘Worlds of Waynecraft”. I stumbled onto the page when I was wandering through videos one day and discovered this fun looking craft. Make YOUR notebook look like the Necronomicon. It’s really a lot easier than I thought it might have been.
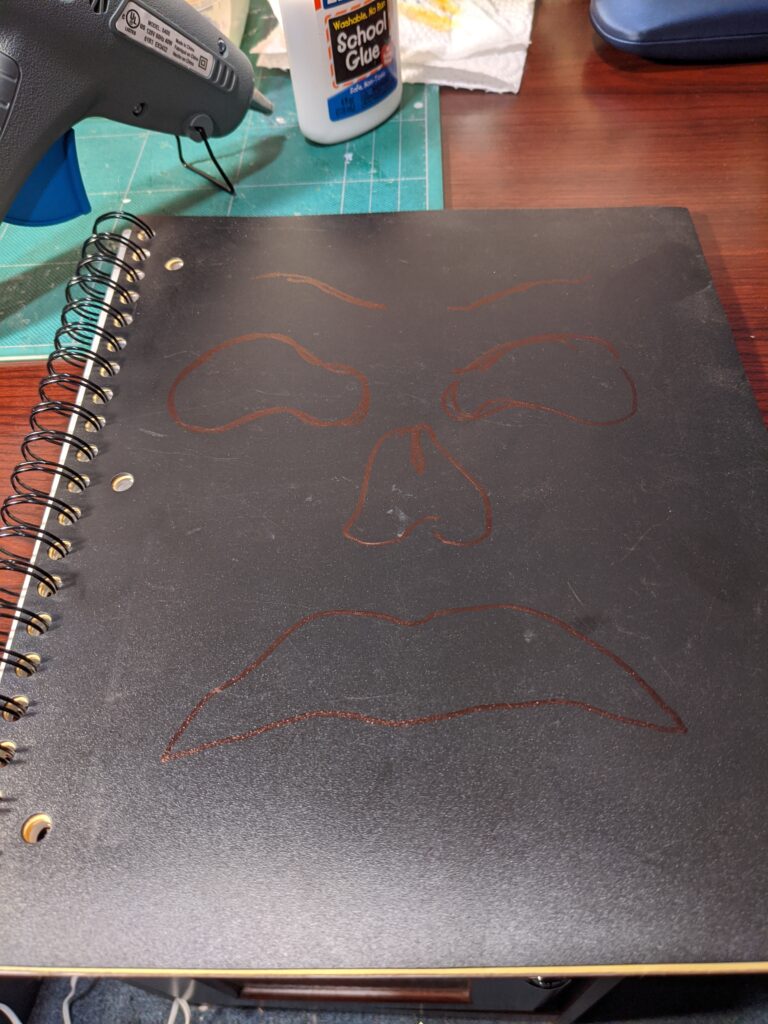
I started off by drawing the rough face outline onto the cover of the blank notebook I was setting up.
Freehanded a face!
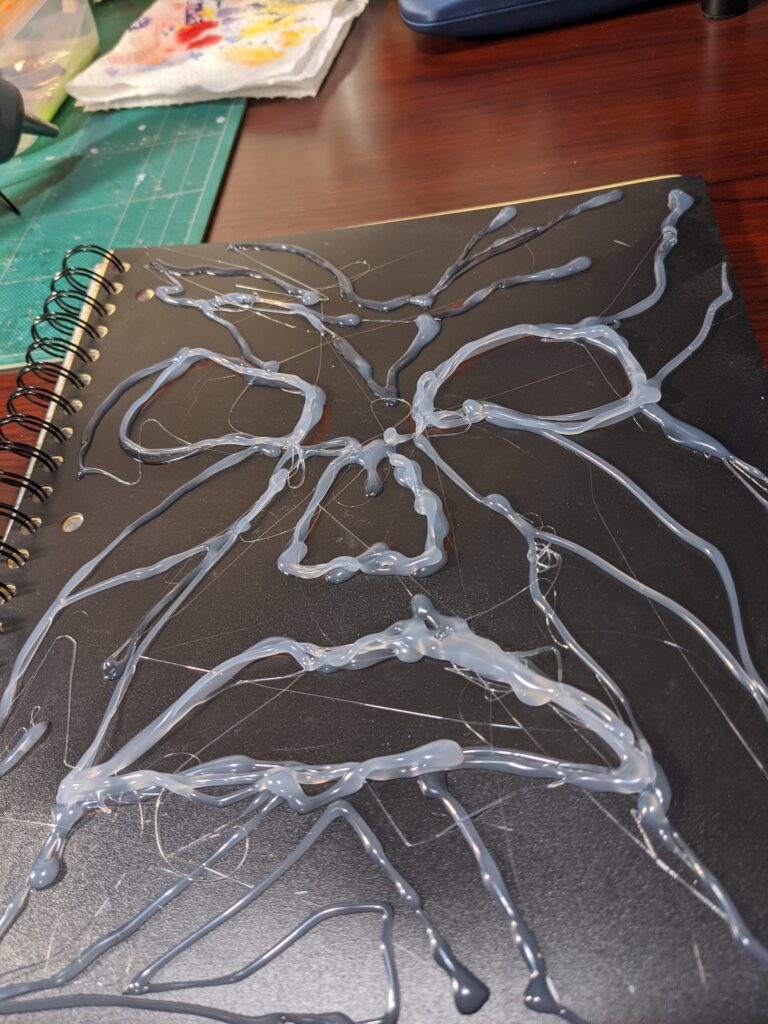
Once the lines were in place where I liked them it was time for the hot glue.
Hot glue… keyword is still HOT.
I used two or three layers over each line to give some emphasis to where the main portion of the face would be. I forgot to photograph the next bit. Essentially mix up a half and half water and glue wash ( I used regular old school glue) and tap layers of tissue paper over the entire page. Don’t worry about being neat – you’re looking for wrinkles.
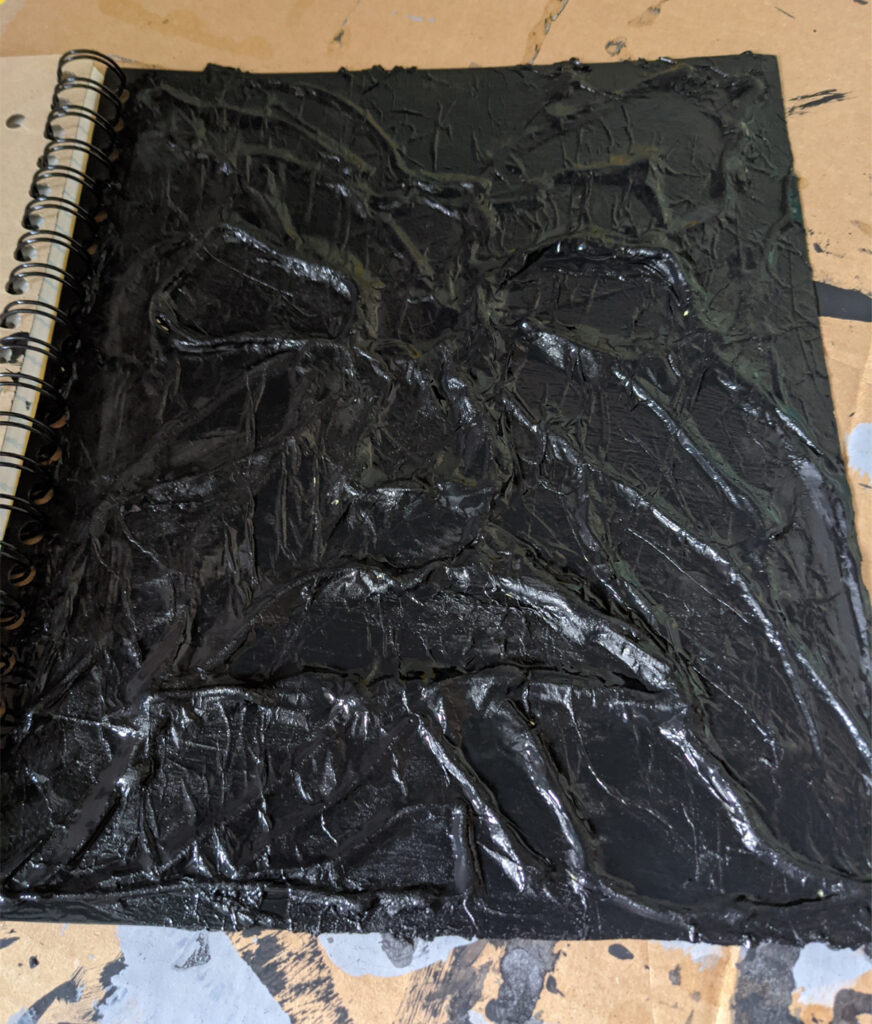
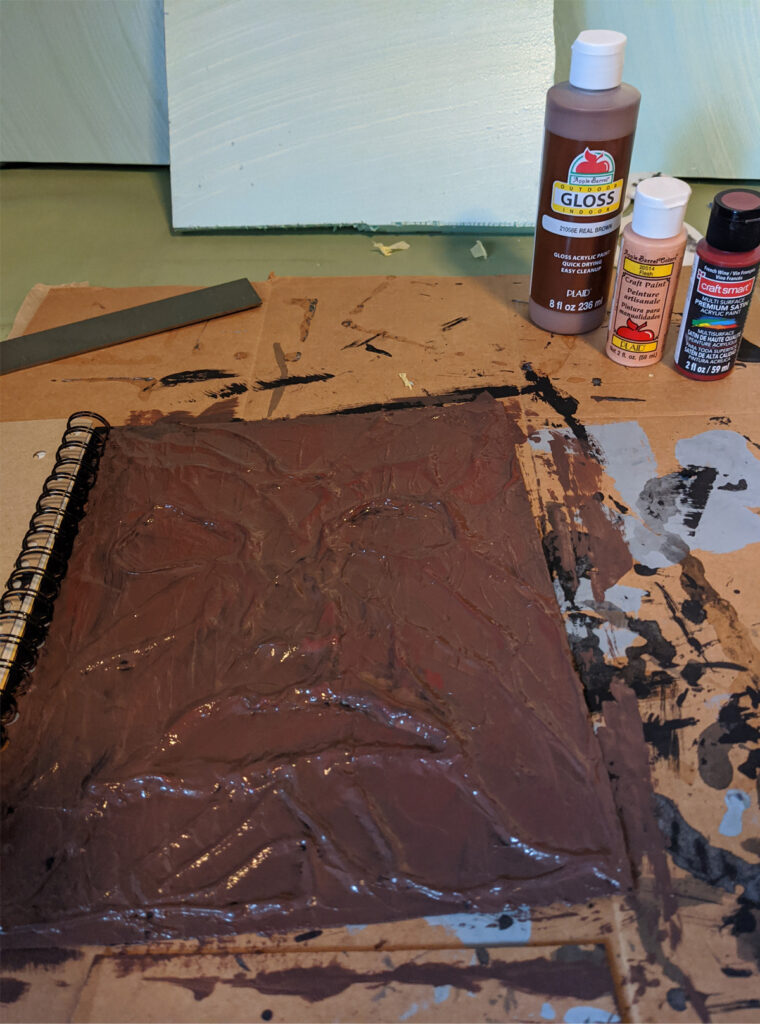
Once I was happy with the look I had to let it dry. It took forever… and I’m not patient. As soon as it was even close to dry enough, I took a slightly thinned layer of black acrylic paint over the whole thing.
Once that dried (OMG FOREVER) I mixed up some brown, red and flesh color to paint over the black. I could be pretty loose with the whole thing because if any of the black showed through it wouldn’t be a big deal.
Craft paint!
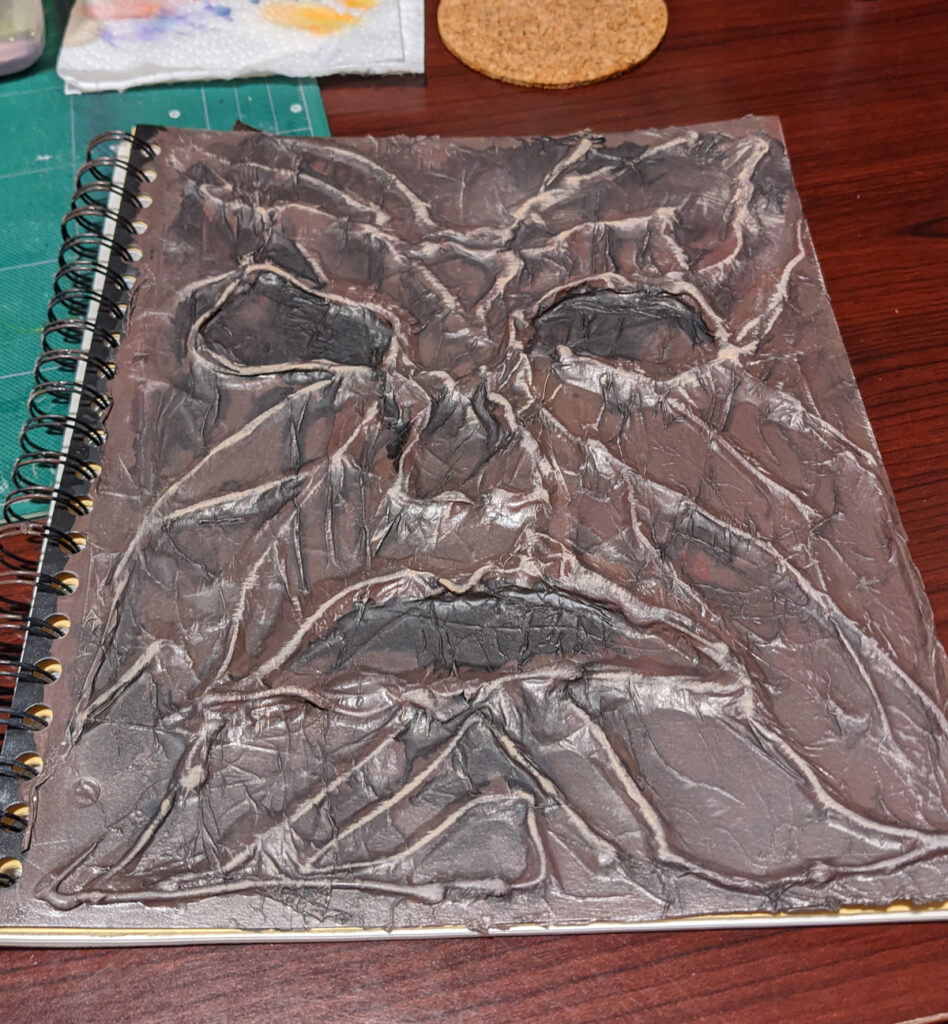
Let it dry again, then dry brushed a light tan / fleshy mix over the high points and the wrinkles. Once that was dry, a light black wash to get some shadows back in the eyes and other places. I am actually pretty happy with the results.
Ready for notes!
Taking some words from an inspirational friend of mine, “Despite everything, create.”
I took on another beginner project today. The tabletop crafting has hold of me and the only method to get away is to actually take on a project and make something. It felt really good to actually start and finish a project. Yes, it was small, but that’s OK. Starting small and learning as you go is how things are supposed to work. Today, I made a version of the Dungeons and Dragons monster the Gelatinous Cube. The monster is essentially a ten foot cube of monster goo that sweeps dungeon corridors and occasionally eats player characters.
It’s a beginner project because it doesn’t require a lot of parts or skill. More skill than I have in order to avoid hurting yourself apparently, but more on that in a minute.
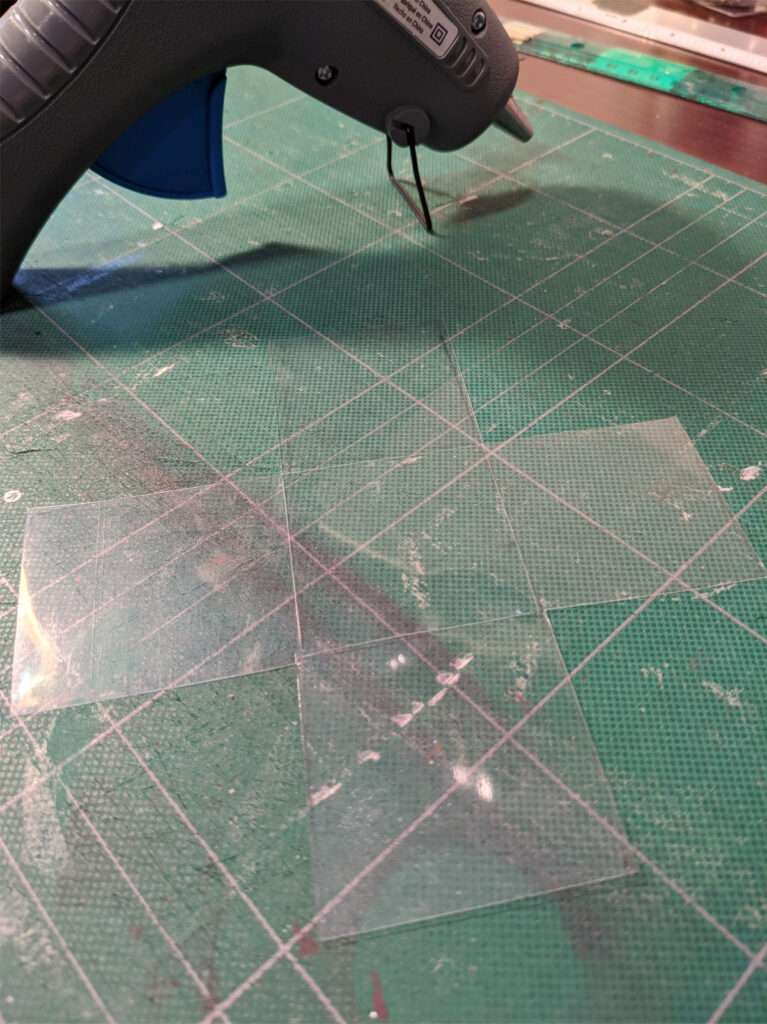
I grabbed an old sheet protector from a three ring binder that had been laying around here collecting dust for far too long. I trimmed out a 6” x 6” section of the plastic. I still have the other side of the sheet protector set aside so if I choose to make this project again I can use that… although I might look for a better solution. Many tutorials say to use “plastic” but they’re not super specific about what that plastic actually is. I think if I try this method again I might want to use plastic that is a little bit heavier. I considered trying to glue together some acrylic picture frame parts to make a cube, but at 1/8” thick it was way too much. It just wouldn’t give the same feel.
Plus
I tried to mark out the shape I needed to cut on the plastic with a marker. It didn’t work well at all. I couldn’t get the ink to stay on the plastic. The idea is to have 2” x 2” sides and a 2” square top. Cutting 2” squares out of the corners of the 6” square should give a “plus” shaped form. Then, where the edges of the 2” top would be, score the plastic but don’t cut through it to help with getting an accurate bend. I couldn’t get the ink marks to stay. It was frustrating. In the end I mostly eyeballed the whole thing. I grabbed my metal straight edge and my xacto knife and got to cutting.
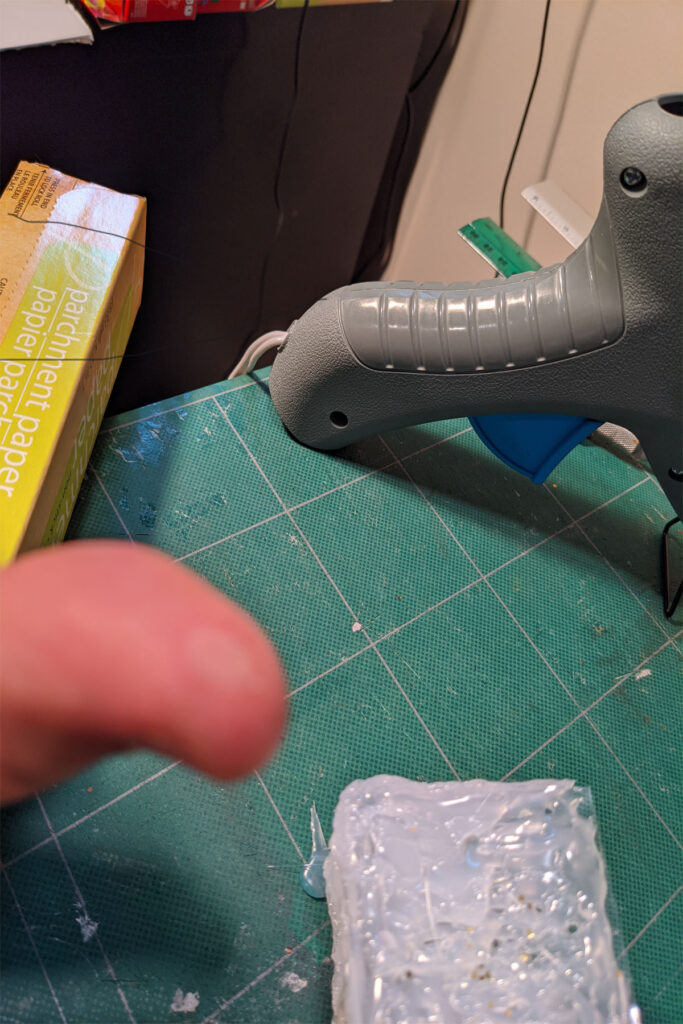
Once the “plus” shape was cut out of the 6” square I laid it flat on my work surface… and that was my next error. I should have put parchment paper under the plastic first. Parchment paper would have kept my project cleaner, would not have picked up the tiny pattern that is actually in the cutting board and would have helped me get the glue to peel away much easier than I did.
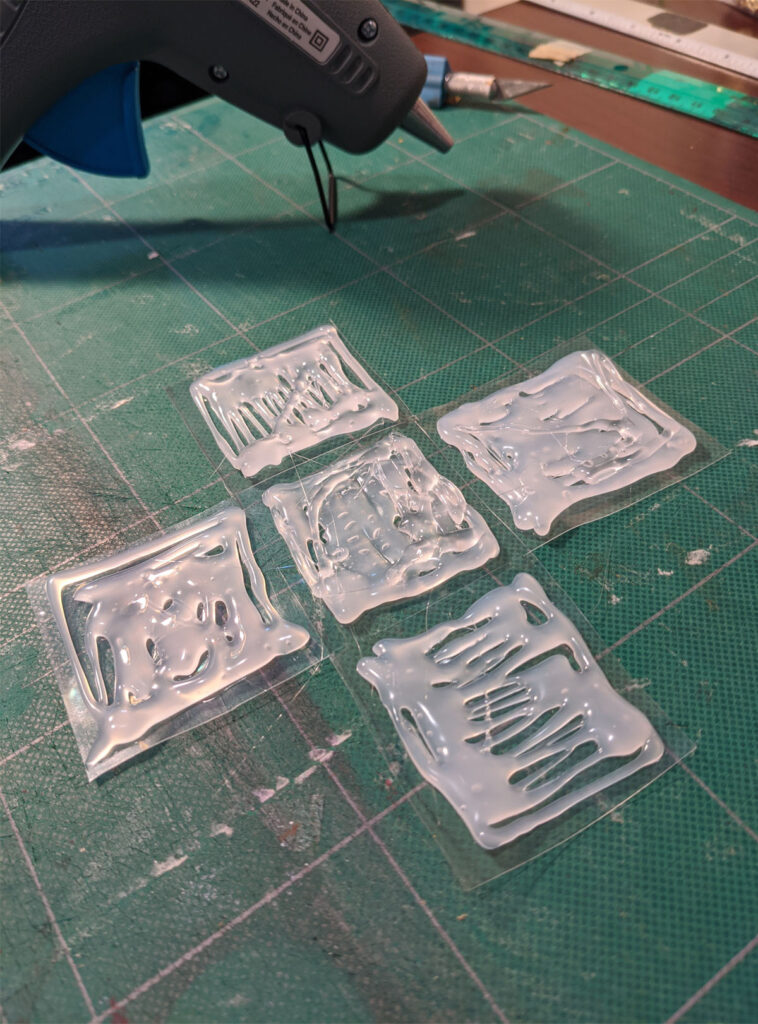
Plus with glue
So, adding glue. The errors just kept adding up here. I used the high temp glue gun and I don’t think I needed to. It warped the plastic a little when I was first laying out glue. That’s OK because this monster isn’t supposed to be gelatinous and not a Quadrone (that’s right – a reference to the Modrons from Monster Manual 2 – I’m old). Still, the glue came out hot and fast and I am not practiced at hot glue sculpting yet. There’s an art to using the hot tip of the glue gun to make the glue look the way you want it to. Also, the key word in “hot glue gun” seems to be *hot*. I blistered my thumb when the glue slid off the cube and onto me. I was unhappy. There may have been swearing.
Ow. Blister.
Then came the part that I somehow failed to grasp when thinking about the project. Patience. This would have been a significantly better project if I’d had some patience and didn’t try to rush things. One of my favorite comedy routines has a character named Ed Grubberman. I quote Ed all the time, “Yeah, yeah, yeah, patience… how long does that take?” That’s right before a painful lesson too. Perhaps I should have paid more attention.
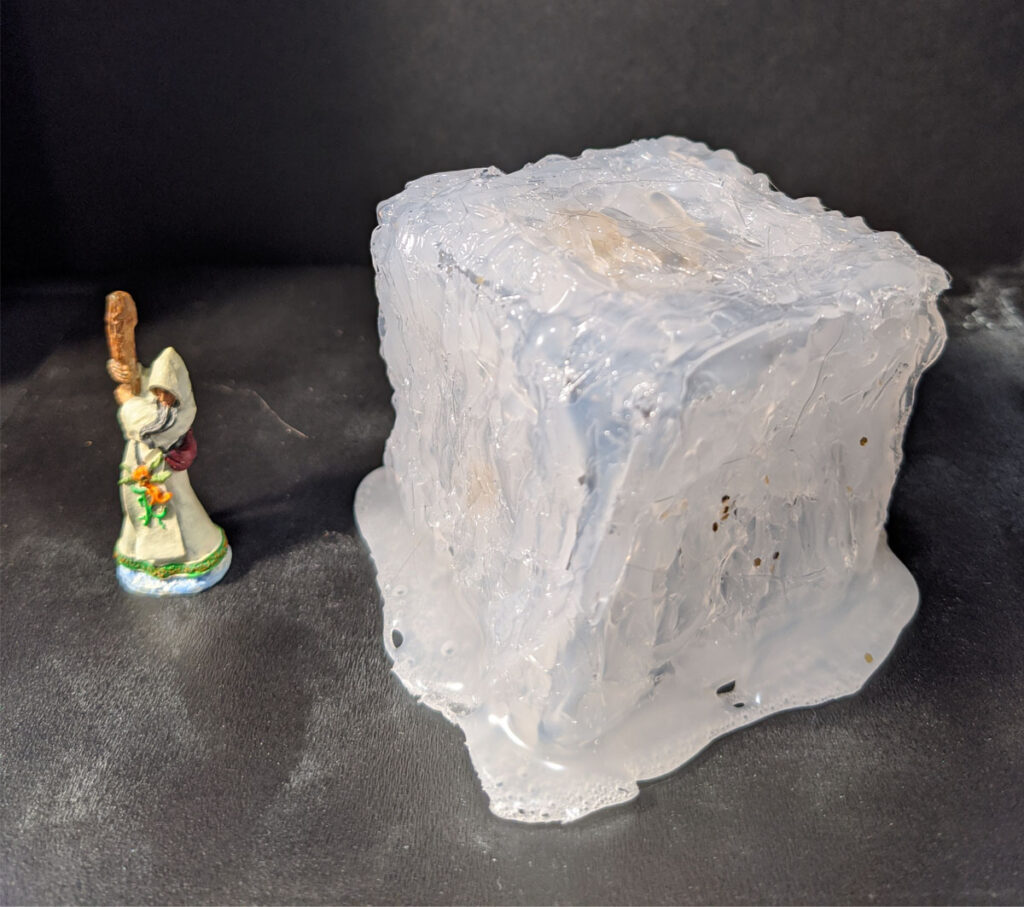
I tried to put my own little spin on this project by adding some “floating gold” on the inside. That’s something that is shown in one of the old pictures of this monster. In terms of sweeping up in the dungeon there are frequently bits of things that haven’t been completely dissolved yet. I used some large cut glitter on the inside. It was not quite the effect I wanted. The glue did not dry clear, so it’s hard to see. I may try another after my thumb heals a little ~ but I’ve seen another version of this that uses resin. I am definitely not up to resin yet.
I took this picture with one of my miniatures to give this some scale and context.
Cube size
I will certainly use this when the chance arrives and I can torment some of my players. In the end, I’m actually pretty happy with the end result. I’ll take those lessons learned and take on my next project. Hopefully with less injuries in the process.